
- Plan and Design: Before beginning any electrical work, it’s crucial to create a detailed plan for your home’s electrical system. Consider the number of rooms, their functions, and specific electrical requirements. Work closely with an electrician or electrical engineer to determine the ideal placement of outlets, switches, and lighting fixtures in each room. Create a wiring diagram or blueprint that outlines the entire electrical layout, ensuring proper distribution of power throughout the house.
- Obtain Necessary Permits: Contact your local building authority to obtain the necessary permits for electrical work in your new house. Permits ensure that the electrical installation meets safety codes and regulations. It’s important to comply with local electrical standards to guarantee the safety of your home and its occupants.
- Install Service Entrance and Main Panel: The service entrance is the point where electricity enters your home from the utility company. A licensed electrician will install the service entrance and the main electrical panel. The main panel contains circuit breakers or fuses that distribute electricity to different areas of your house. Proper sizing and installation of the main panel are critical for the safe and efficient operation of your electrical system.
- Wiring Rough-In: During the construction phase, the electrician will perform the rough-in wiring. This involves running electrical cables through the walls, floors, and ceilings before the installation of insulation and drywall. The cables will connect outlets, switches, and fixtures as per the electrical layout plan. It’s essential to follow the National Electrical Code (NEC) and local codes regarding wire gauge, conduit usage, and spacing requirements.
- Install Outlet Boxes, Switches, and Fixtures: Once the rough-in wiring is complete, outlet boxes, switches, and fixtures can be installed. Outlet boxes are mounted in the walls, while switches are installed at convenient locations. Fixtures such as light fixtures, ceiling fans, and appliances are connected to their respective electrical boxes. Proper grounding and secure installation of these components are vital for electrical safety.
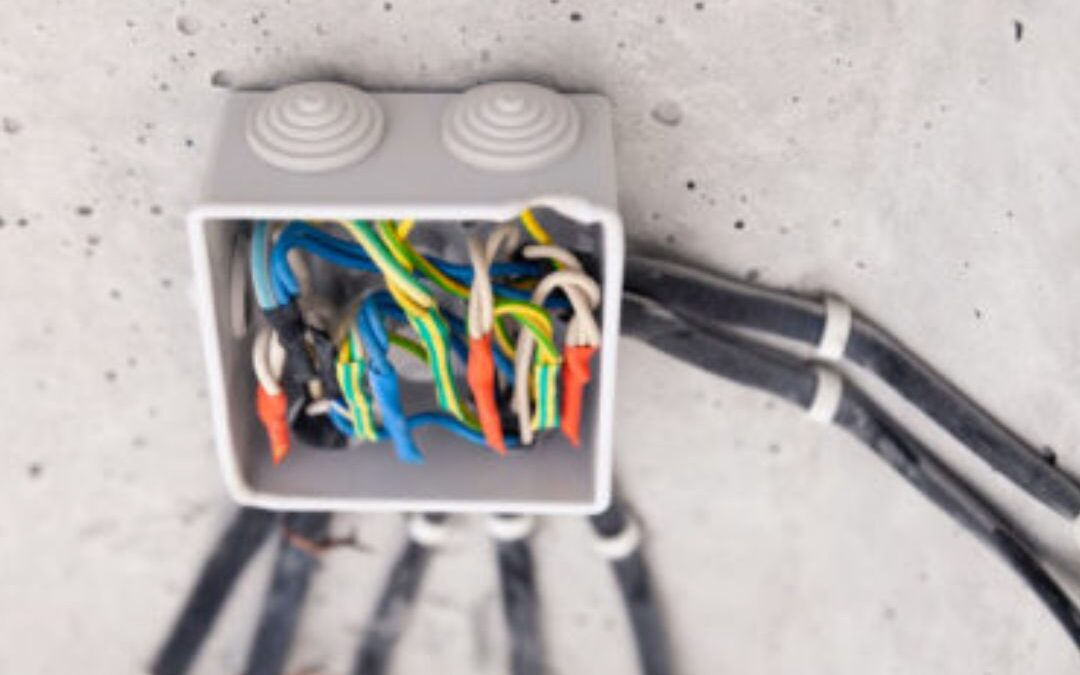
- Final Wiring and Connections: After the completion of the walls, floors, and ceilings, the final wiring and connections can be made. The electrician will connect the outlets, switches, and fixtures to their corresponding wires. They will also ensure proper grounding of the electrical system and verify that all connections are secure.
- Test and Inspection: Once the wiring is complete, the electrical system must undergo rigorous testing and inspection. This includes checking the continuity of wires, verifying proper functioning of outlets and switches, and conducting safety tests to ensure compliance with electrical standards. An electrical inspector will assess the system’s compliance and issue the necessary certifications and approvals.
- Finalize Electrical Installation: After passing the inspection, the electrical system can be finalized. The electrician will label circuit breakers or fuses, providing clear identification for each circuit. This step ensures easy maintenance and troubleshooting in the future.
Conclusion: Wiring a new house requires careful planning, adherence to codes and regulations, and the expertise of a licensed electrician. By following the steps outlined in this guide, you can ensure a safe and efficient electrical installation in your new home. Remember to consult with professionals, obtain permits, and prioritize electrical safety throughout the process. A properly wired home will provide you with a reliable and functional electrical system for years to come.